PLCs have their use in many areas, including basic relay control, motor or motion control, industrial process control and complex networking. PLCs are often very expensive because of their ability to handle very complex process control, high speed and precision. This project deals with an interesting manner of achieving sequential switching of loads in repetitive nature of work with the help of 8051 microcontroller. A simple microcontroller based PLC like functionality is achieved where different loads are switched either according to the pre-programmed timings or timings set during run time.
Principle
The main principle in the working of the project is the timers and interrupts of the microcontroller. For normal operation, the loads are sequentially switched as per the timing set by the user. Internally, the 8051 timer runs as per the time and once reaches the set time, it automatically switches the load and resets the timer. If the user wants to change the timing intervals, the Setup button must be pressed. This acts as an external interrupt to the microcontroller. Once the microcontroller receives the interrupt, the microcontroller turns off all the loads and initialises the user input. With the help of two push buttons, the desired timing can be set.
Circuit Diagram of Programmable Switching Control
Components Required
Also read this interesting post on Programmable Logic Controllers (PLCs)
How to Design Programmable Switching Control Circuit?
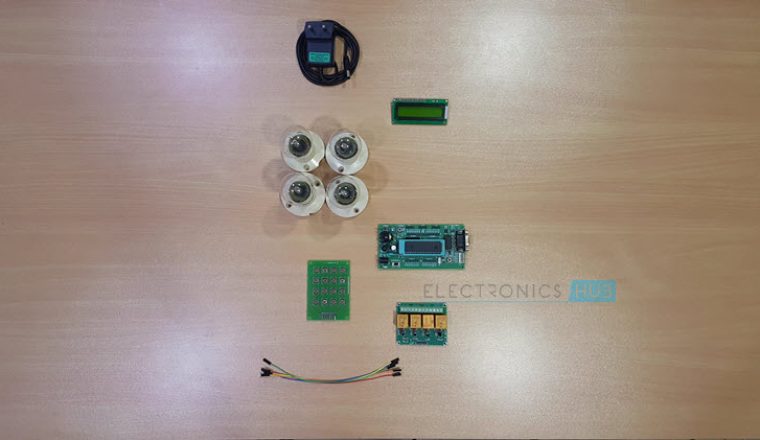
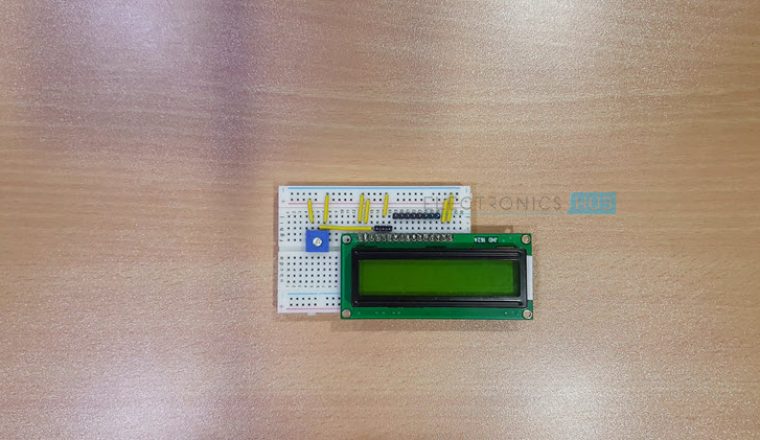
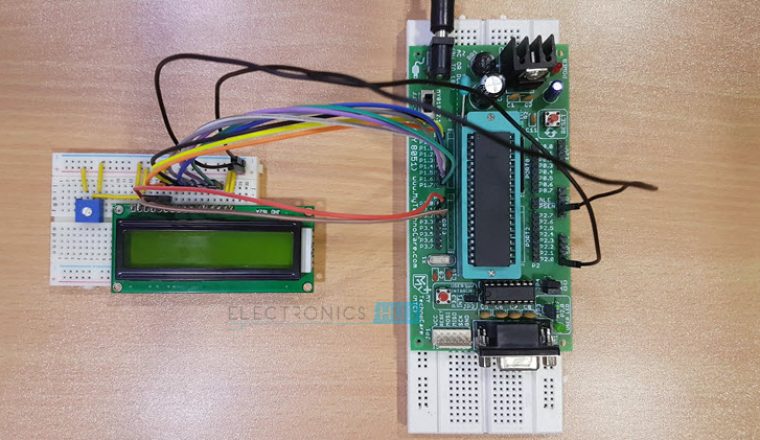
Components that play a major role in the Programmable Switching Control project are AT89c51 microcontroller, LCD Display, relay circuit and few push buttons. Basic connections of the microcontroller are 11.0592 MHz Crystal along with two 33pF Capacitors, a reset switch with a capacitor and a resistor and finally a resistor to pull-up the EA pin of the microcontroller. The LCD is used to display the status of the Loads, Timing details and other information entered by the user. The control pins of the LCD are connected to P3.0, GND and P3.2 and Port 2 pins of the microcontroller respectively. The data pins are connected to PORT1. After connecting the display, now we are going to connect three buttons namely Start or Save, Increment and Decrement to the microcontroller. Instead of individual buttons, we have used a 4 x 4 Matrix Keypad in this project. So, in order to make use of the keypad in this project, connect the first three columns of the keypad to P2.5, P2.6 and P2.7 Pins. Also connect the first row to GND. We need to connect another button, which acts as a Setup button. When this button is pressed, an external interrupt is created to the microcontroller. So, the Setup button is connected to External Interrupt 0 i.e. P3.2 of the microcontroller. The final connections will be with respect to the load. The will be connected to PORT0 and the connections mentioned here are only for one load. Multiple loads can be used with the microcontroller and multiple such connection are to be made. Before making the connections with respect to load, we need to connect an external pull-up resistor pack of 1KΩ to PORT 0. In the load section, the base of the 2N2222 NPN Transistor is connected to the P0.0 pin of the microcontroller via a 1KΩ current limiting resistor. A 12V Relay is connected at the collector terminal with a diode across it. The load is connected to the relay with appropriate supply. If we consider this relay circuit as one relay module, then we can connect many such relay modules to the microcontroller.
How Programmable Switching Control System Works?
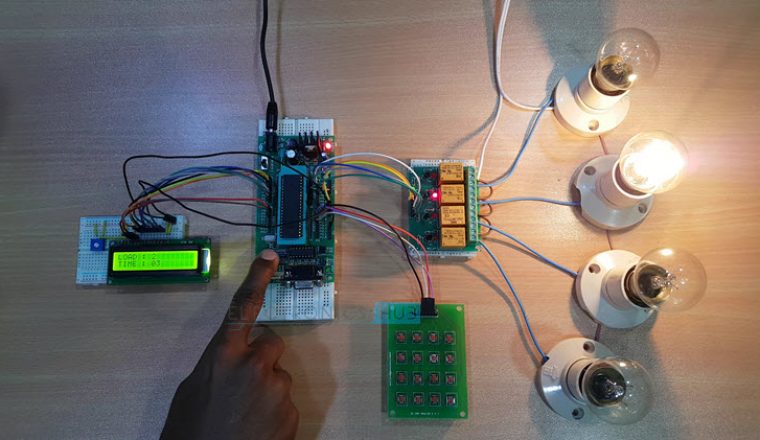
The Programmable Switching Control circuit can be used as a replacement to PLC for simple load switching. Once the circuit is switched ON, it will ask the user to select either of the two functions which is Start or Setup with the help of two push buttons. Here, the Start function is used to start the switching operation with the predefined time settings that are already stored in the microcontroller whereas the Setup function is used to modify the predefined timing values with necessary user required values. Consider if we started the operation by pressing Start button. Now, the Microcontroller will sequentially turn ON and OFF the loads according the Time Interval which is already stored in the Microcontroller. So, here the predefined value is 5 secs for all the loads. So each load will be switched after 5 seconds. This process goes on unless interrupted. If we want to set the timings for individual loads as per the requirement, we need to enter in to the setup mode by pressing the Setup button attached to the Microcontroller. Once we enter into the setup mode, first the Microcontroller will temporarily switch OFF all the loads. Next, it will ask the user to update the timing interval of the individual loads. So, in order to increase or decrease the time interval, we need to use the Increment and Decrement buttons which are attached to the Microcontroller. Once the desired time is entered, press the Set (Setup) button to jump to the next load. Once all the timings of all the loads are set, the Microcontroller will come back to the initial position by displaying start or setup on the LCD. Now, if we press the Start button, the Microcontroller will switch the loads according to the updated timing intervals. An important thing to remember here is, all the modifications of time interval that are made during run time are stored in the temporary memory. So, once the Microcontroller is switched OFF or reset, all the timing intervals will reset to the default predefined values.
Applications and Advantages
Programmable Logic Controllers or PLCs are often used in almost all industries for complex process control operations. Such complex controllers are often very costly. The higher cost of PLCs are often set by the complex tasks they are programmed to perform, number of redundant levels they offer and also the testing environment they are subjected to. A simple Microcontroller based solution can be implemented like this Programmable Switching Control System, at a lower cost for smaller tasks and is more customizable. Many number of loads can be switched sequentially as per the pre-programmed timing intervals or the required timings for individual loads can be set by the user.
Limitations
Modern PLCs are easy to program using graphical user interface whereas a microcontroller must be programmed using traditional programming languages. The communication between the PLC and the rest of the equipment is easy as it has all the necessary protocols. A microcontroller based system is limited in this aspect. Microcontroller based programmable sequential relay switching is more suitable for small processes but not for industrial applications.
DOWNLOAD PROJECT CODE
Comment * Name * Email * Website
Δ


![]()